

This year I want to really up my DevOps/Platform Engineering skills to the next level, as it is an area I am very interested in. After having such a great experience diving into Kubernetes for the NSDF Intersect project, I thought that it is finally time go full throttle into building my own mini homelab playground.
Usually, when people think of a homelab, they picture a huge server rack with boxes upon boxes upon boxes… and, of course, a money tree 😁. However, If you are like me, chances are you want to build a test lab, one that can serve you to experiment different cloud-native technologies and strategies.
The plan is to start from just a barebones Linux distro and end up running my own Kubernetes cluster. Along the way, I’ll look into hosting few services from a simple static site to a personal media server. The possibilities are truly endless in the world of homelabs.
In this series, I will document my hardware, decision, and progress of the Kinho’s Homelab adding piece by piece as I research and gain more knowledge. This is going to be fun! (and yes, we shall know pain ). For this first article in the series, I’ll cover setting up my first node and securing it under a tailnet with WireGuard using Tailscale .
1. Securing my Network with Tailscale

Grandma’s Laptop Has a Use!
As I mentioned earlier, the goal is to build a homelab that works as a playground for experimentation which means even your grandma’s old laptop will work too.
For me, that is an old Sony VAIO VPCEH , Core i3 2310M, 4GB SDRAM DDR3, and 512GB HDD. This machine is barely holding on under all the Windows bloatware, but it is ready to be reborn. To give new life to this poor soul, we will revitalize it with Linux.
Choosing a Linux Distro
When deciding which distro to flash onto the VAIO, I considered a few such as Fedora , Arch btw, and even more k8s-suitable ones such as Talos . However, I’ll wear the boomer pants for now and go with Ubuntu.
The simple fact is I actually do not mind Ubuntu. In fact, any Linux is 10⁶ times better than Windows. It’s stable, and that is what we want here: a solid environment. Even though our main goal is experimentation, we do not want to deal with random breakages during operations. Don’t get me wrong, Arch will get its shot in the future, but for now, it is Ubuntu btw.
If you have never flashed an OS before, you can follow these simple steps to install Ubuntu server
. Keep in mind that the image used in that tutorial is for a server environment, which is fine if you plan to use the laptop as a server only.
However, you can also go with the Ubuntu Desktop
image, if you intend to use the laptop as your daily driver as well.
Reaching Cluster Nodes Remotely
The first issue I wanted to tackle was SSH access to my VAIO from my Macbook. It’s very likely that I’ll be outside my local network at some point, and managing SSH access through authorized keys across multiple machines quickly becomes a hassle. I needed a solution that would enable secure access without constantly juggling keys or reconfiguring SSH.
While researching ways to achieve this, I came across the fantastic Tailscale , and honestly, I was amazed to what it had in store.
Tailscale

Tailscale creates secure, point-to-point connectivity between devices using WireGuard , forming what’s known as a tailnet. That means I can connect from my MacBook to my VAIO over SSH completely privately and, most importantly, securely.
Even better, the personal tier is incredibly generous, including up to 100 devices and 3 users. Not to glaze over it, but the setup was incredibly easy, which is always something I love to praise when trying out a new product. However, if you are more of FOSS person, I highly recommend checking the Headscale Project as an option to self-host Tailscale’s control server. Headscale implements a single tailnet, being well-suited for personal use.
Installing Tailscale
To set up my MacBook, I simply downloaded the Tailscale client
from the official site and continued from there.
For my VAIO running Linux, joining the mesh was as simple as running:
curl -fsSL https://tailscale.com/install.sh | shThen, we can start the Tailscale daemon as follows:
sudo tailscale up --sshImportantly, here we pass the --ssh flag to activate Tailscale SSH
.
The idea here is to ditch SSH login via password, and even SSH keys as there is a configuration overhead per machine added.
Tailscale SSH encrypts the connection over WireGuard using Tailscale node keys that are automatically generated and expire after each session. It even enforces authentication for high-risk connections (like root logins). Very neat!
Just like that, I can now connect from my Macbook to my VAIO via SSH privately and securely.
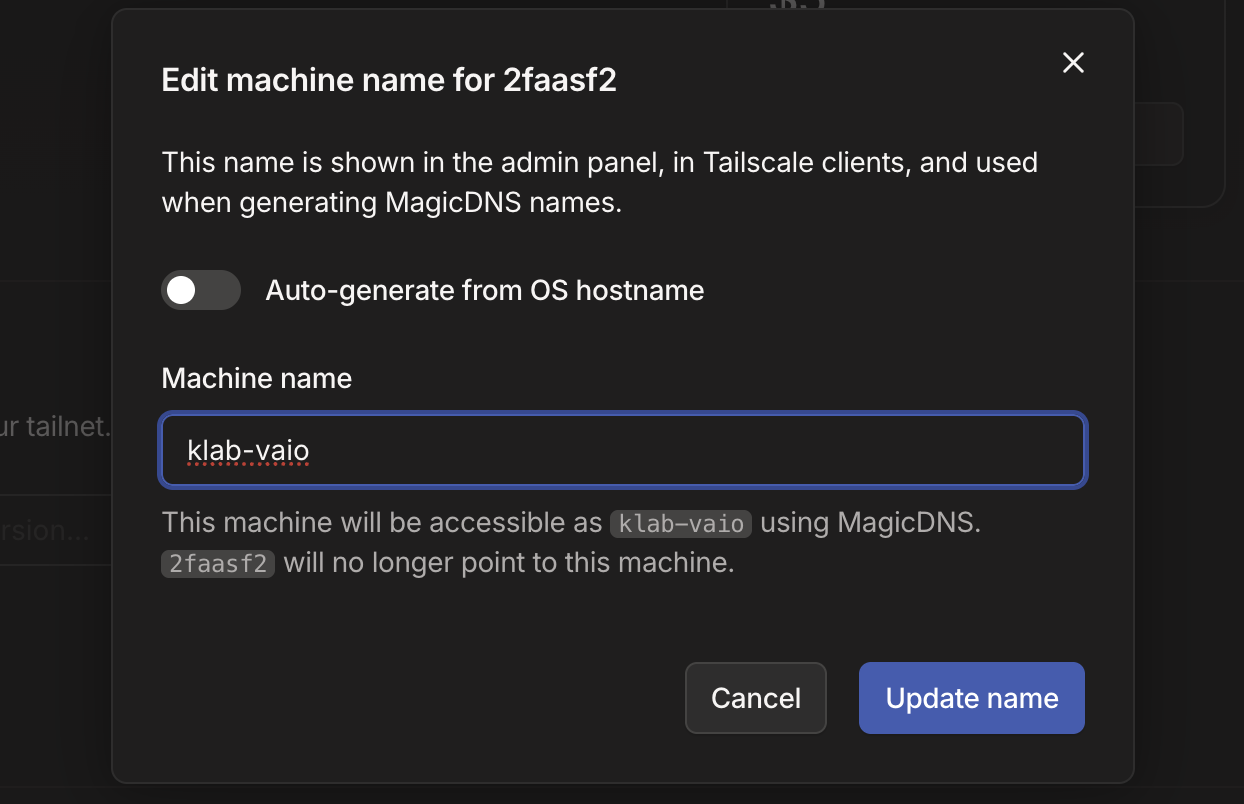
Adding MagicDNS + Tailscale SSH to Manage SSH Login
While we could SSH simply using the convention hostname@tailscale-ip, that becomes quite hard to remember, especially as we add more devices to the tailnet. Fortunately, we could make use of MagicDNS which allow us to automatically register DNS names for devices in our network. That way, we can substitute our raw Tailscale IP for a readable name.
Now, I can access my machine with a much better convention over SSH and simply authenticate on Tailscale to achieve an encrypted connnection as follows:
ssh hostname@machine-nameAwesome, now there is one more thing to take care of to finish securing the machine.
Raise the Wall
We will do a few things to raise the wall. First, let’s setup our sshd_config to only listen to its private IP defined in Tailscale.
ListenAddress <your-tailscale-ip>Also, we will configure ufw to allow access to SSH only from Tailscale IP CIDR
range with the following
command.
sudo ufw allow from '100.64.0.0/10' to any port 22Configuring for IPV6 as well.
sudo ufw allow from 'fda7:115c:a1e0::/48' to any port 22We deny access from any other IP to SSH.
sudo ufw deny 22sudo ufw deny OpenSSHLastly, let’s enable the firewall.
sudo ufw enableWrapping up
That’s a solid start for Kinho’s Homelab! We took an old VAIO laptop that was gathering dust and gave it a new purpose as our first node. We installed Ubuntu (sorry Arch 😅), configured secure remote access with Tailscale, and locked it down properly with ufw and SSH hardening.
I am also very excited to test out other features that Tailscale enables such as serve for routing traffic from my devices to a local service running on my tailnet, and experiment with funnels to route traffic from the internet to a local service on my tailnet.
With the foundation in place, the next step will be our installation of Kubernetes to start experimenting and slowly build up services. There is still a lot of fun ahead, but we are off to a great start.
Next: TBD